
Table of Contents
Understanding The Process
Self-taping has revolutionized the audition process, enabling actors to demonstrate their skills from the ease of their own space. Making a self-tape can be an incredibly useful tool for aspiring actors. In this guide, we’ll discuss the fundamental aspects of self-taping for a great audition.
What is Self-Taping?
Self-taping refers to the process of recording and submitting auditions remotely, instead of attending casting calls in person. This method has gained popularity due to its convenience and the ability to reach casting directors from any location. It’s especially beneficial for actors who want to increase their chances of being noticed by a casting director, no matter where they are.
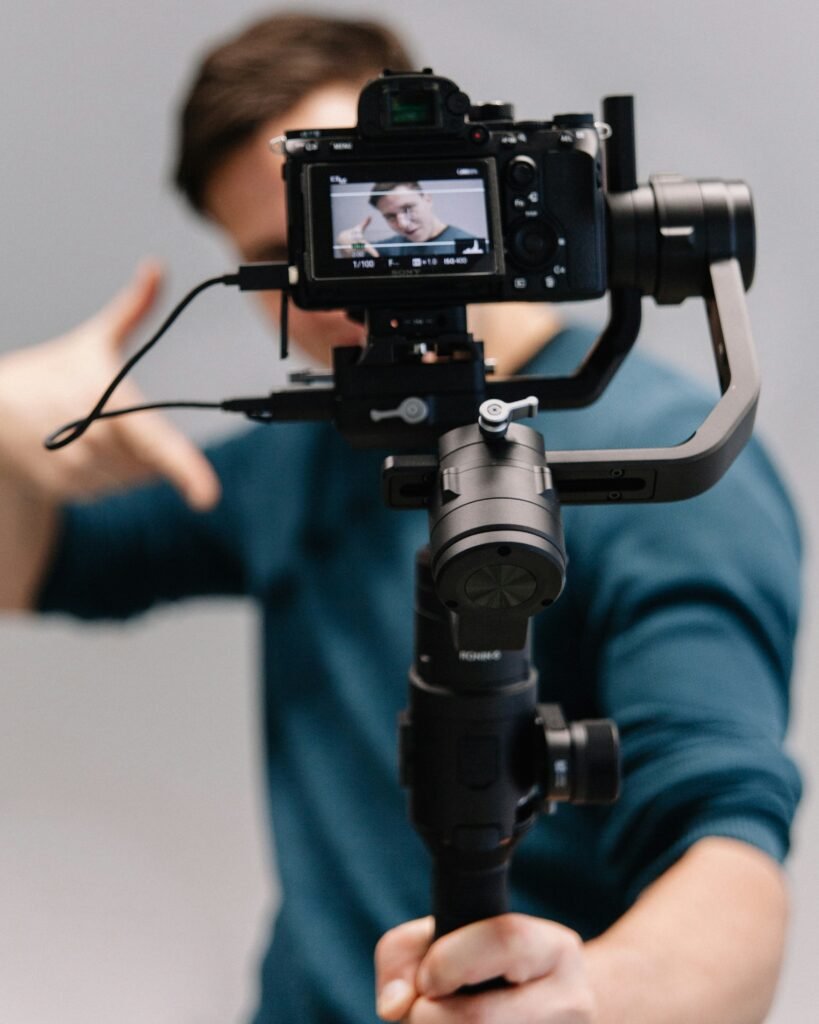
Choosing the Right Equipment
Choosing the right equipment doesn’t need to be hard or you don’t need to have a “professional setup.” All you really need is a cell-phone and a tripod, you don’t need to go out and buy a $2000+ camera but there are a few tools to help you look good for a casting director without spending a lot of money.
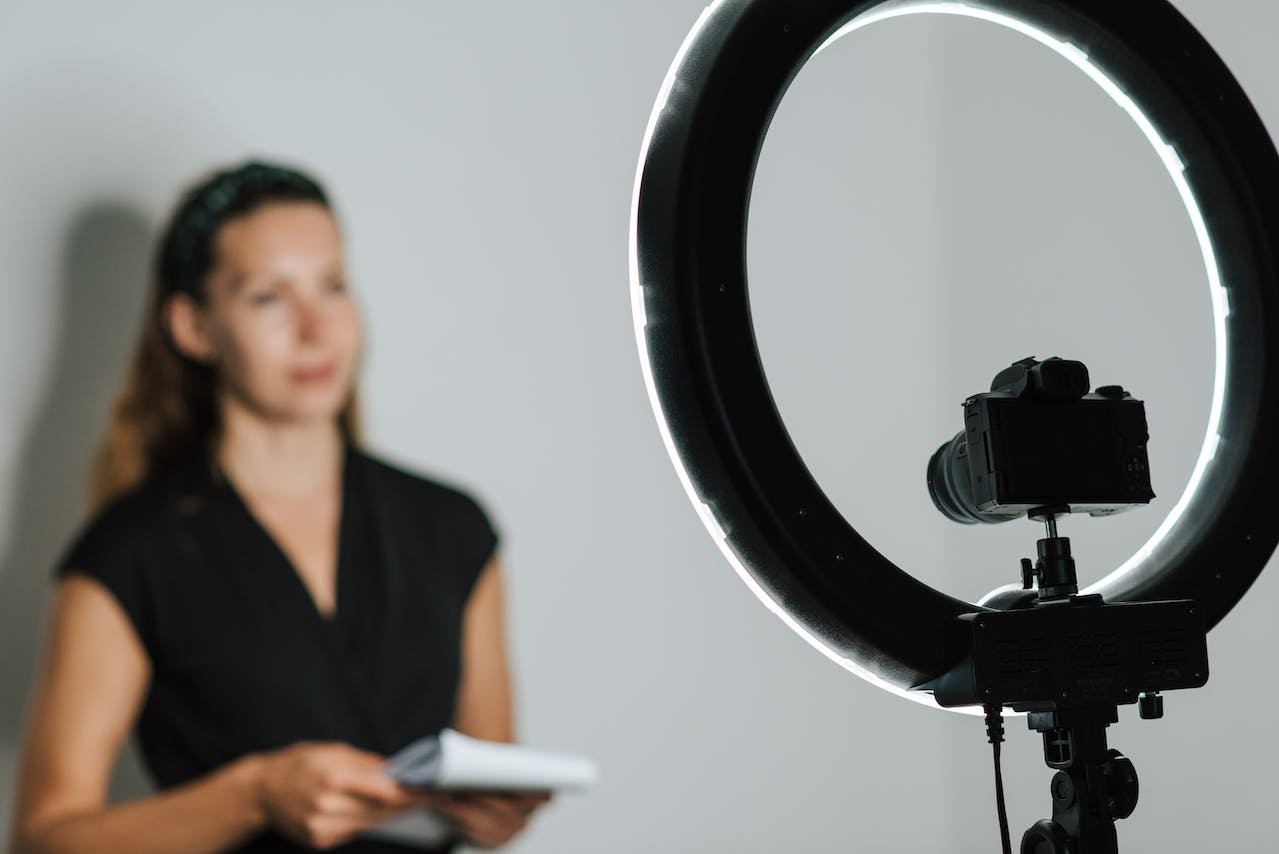
Lighting and Background Setup
Proper lighting is crucial for a professional-looking self-tape. Natural light is ideal, but if not available, invest in soft, diffused lighting to avoid harsh shadows. 3- Point lighting is when you would want two lights on the side of you and a backlight. People might have their own strategies that they like. The casting director should see your eyes and emotions in your audition.
For the background, you need to have a solid backdrop, No busy backdrops. The casting director wants to see You. If you have a brick or a forest backdrop. It can be distracting and the casting director isn’t interested in that.
The color of your backdrop needs to be a single color for your self-tape. The color depends on your skin tone and your complexion. Everyone is different, I’ve seen a lot of people use a blue backdrop, and I’ve seen people use a grey or even an offish white wall for their self-tapes it’s up to you and how you look and feel on camera.
Audio Quality Matters
Audio is crucial in any film aspect for a couple of reasons. The main reason is that people need to hear you. Clear audio ensures that casting directors can understand your performance, capturing the nuances of your delivery. Poor audio quality can tell if your self-tape is good or not. You don’t need to buy a microphone if you are using a cell phone. Positioning your camera to catch your natural tone can help tremendously. You don’t want to be yelling if your audition sides are for you to be having a simple conversation in a coffee shop.
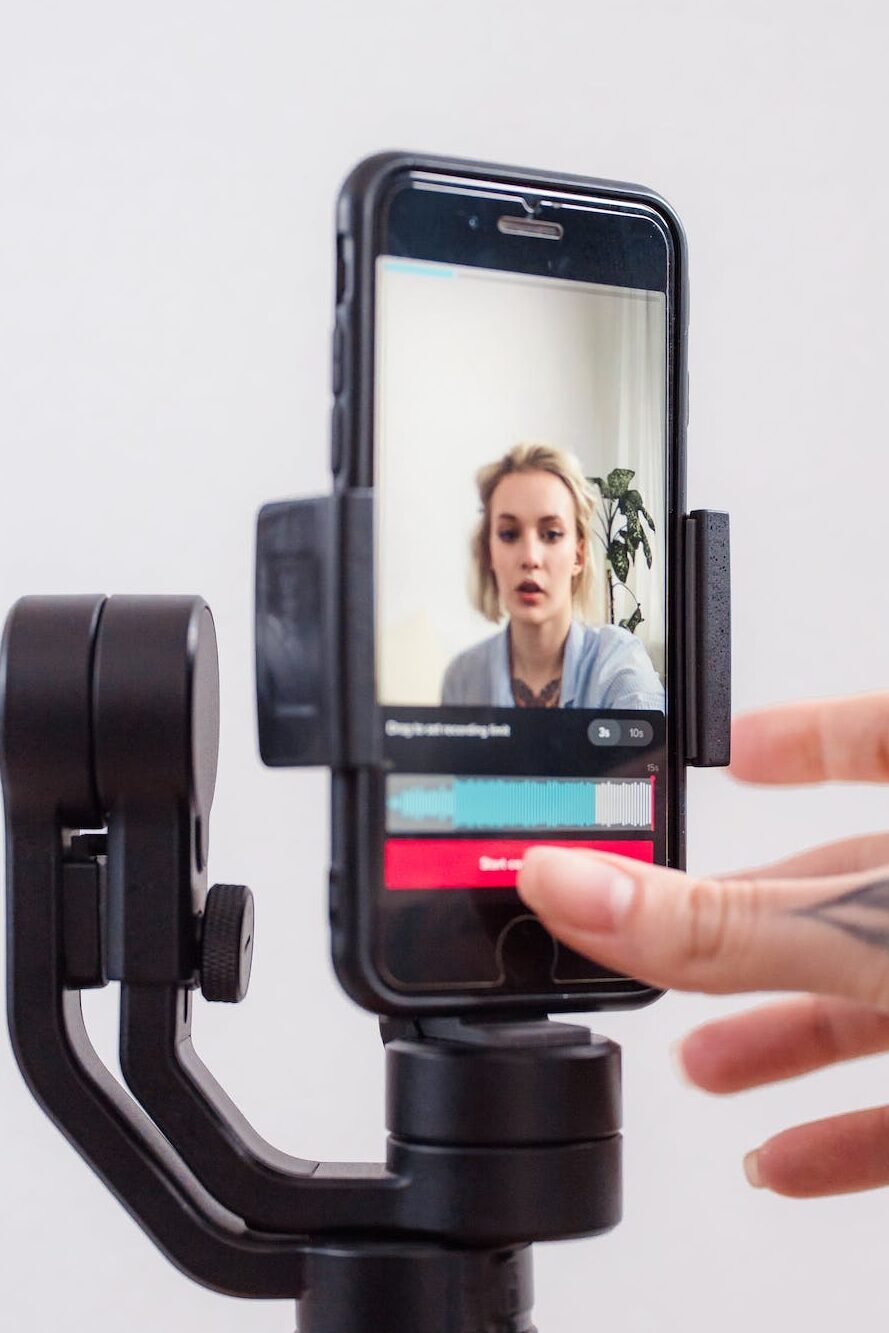
Editing and The Final Steps for Your Self-Tape
Don’t forget these essential tips to make your self-taped audition stand out: If you filmed your audition using a cell phone, use iMovie for Apple or Video Editor for Android to edit your footage. If you prefer using a laptop, go for DaVinci or Adobe Premiere. Trim your clips from the start point to the endpoint.
But that’s not all. The final and most crucial step is to follow all directions carefully in the breakdown from your agent or the project posting. Ignoring any instructions could ruin your audition, no matter how fantastic it is. And let’s face it, you don’t want to annoy the casting director by not following directions. Remember, your audition is your shot at getting the role you want, so take it seriously, and follow directions to the letter.
Conclusion
If you want to take your self-tape auditions to the next level, you need to master the art of balancing technical expertise with artistic creativity. It’s not just about understanding the process or having the right equipment, but also prioritizing audio quality. By doing so, you can truly elevate your auditions and stand out from the competition.